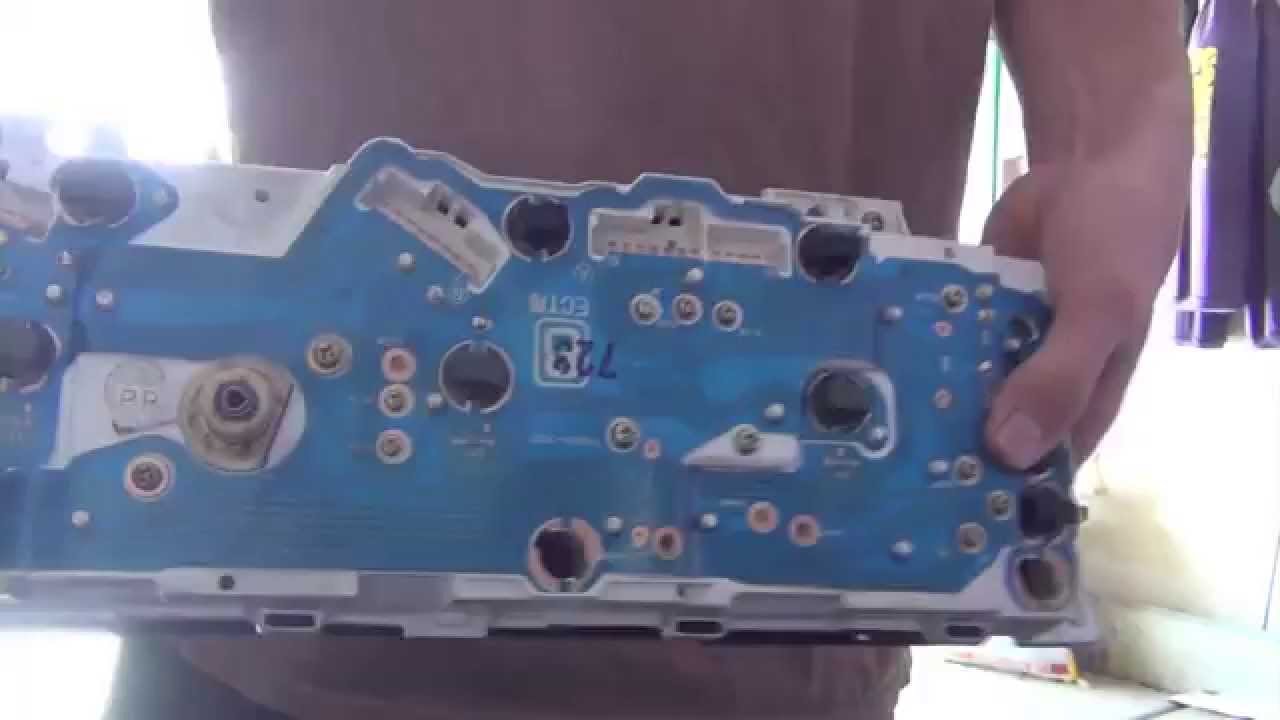
To replace instrument cluster lights, first remove the dashboard trim and access the cluster. Next, disconnect the cluster, replace the bulbs, and reassemble.
Replacing instrument cluster lights is a straightforward task that requires a bit of patience and attention to detail. Vehicle owners often find that burnt-out lights behind the dashboard can cause difficulty in viewing speedometers, gauges, and readouts, especially at night.
Tackling this issue enhances both the functionality and aesthetics of a car’s interior. It’s essential to have the correct replacement bulbs and tools before starting the process, which typically involves removing a few screws and panels. Doing so ensures safety and preserves the integrity of the vehicle’s electrical systems. The project is generally suitable for DIY enthusiasts aiming to maintain their vehicle’s condition and can save a trip to the mechanic. Remember, always refer to the vehicle’s service manual for specific instructions tailored to the make and model.
Understanding The Instrument Cluster Lights
Instrument cluster lights are essential for displaying vital vehicle information such as speed, fuel level, and engine warnings. Properly functioning lights ensure drivers can quickly assess the status of their vehicle’s critical systems, especially during night driving. A dim or dead instrument cluster light can lead to misreading gauges and potentially dangerous situations.
Malfunctioning lights in the instrument cluster could stem from various issues, including burnt-out bulbs, faulty wiring, or problems with the vehicle’s fuse system. Identifying these problems early is key to ensuring a safe and functional dashboard display.
To address these concerns, one must determine the specific light type required for their vehicle, which may range from traditional incandescent bulbs to LEDs. This identification is imperative as it dictates the suitable replacement and ensures compatibility with the vehicle’s system.
Step-by-step Process For Replacing Instrument Cluster Lights
Before embarking on the task of replacing instrument cluster lights, ensure that you have all necessary tools and materials at hand. A typical set might include a screwdriver set, a trim removal tool, and replacement bulbs. For precise requirements, refer to the vehicle’s manual. You may also need gloves to handle new bulbs and a small container to hold screws safely during the process.
Access to the instrument cluster is usually gained by removing the trim or bezel around the cluster. This involves carefully prying off the trim or undoing screws that hold it in place. Exercise caution to avoid damaging the trim or dashboard.
With the cluster exposed, the defective lights can be removed. This step typically requires turning the bulb sockets counterclockwise and pulling them out of the cluster. Handle old bulbs cautiously as they might be fragile and prone to breaking.
Installing the new lights involves carefully inserting them into the sockets and twisting them clockwise until secure. Make sure they are properly seated and that no wires are pinched upon reassembly of the cluster.
Finally, testing your work is crucial. Reconnect the battery, turn on the ignition, and verify that all lights function correctly. If any issues arise during testing, troubleshoot connections and ensure all bulbs are correctly positioned and intact.
Tips And Maintenance For Maintaining Instrument Cluster Lights
To ensure the longevity of your replaced instrument cluster lights, it is crucial to choose high-quality bulbs and ensure proper installation. Using bulbs recommended by the vehicle manufacturer often guarantees compatibility and long life. LED options can provide longer service than traditional incandescent bulbs. It’s also important to avoid touching the glass of halogen bulbs with your fingers, as oils can shorten bulb life.
Intermittent or non-functioning lights often indicate a bad connection or a faulty bulb. A thorough check includes inspecting fuses and wiring for damage or wear. Dimming lights could suggest an aging alternator or weakening battery. For any complex electrical issues, seeking professional assistance is advisable.
- Regularly clean the instrument cluster to improve visibility and prevent dust accumulation.
- Inspect for any signs of damage or wear periodically to avoid sudden failures.
- Ensure secure connections and that the dimmer switch operates correctly to avoid voltage fluctuations.
- Remember that extreme temperatures can affect bulb life—park in the shade or garage to mitigate this.

Credit: www.familyhandyman.com
Frequently Asked Questions Of How To Replace Instrument Cluster Lights
Can You Change The Instrument Panel Lights?
Yes, you can change your vehicle’s instrument panel lights. Refer to the owner’s manual or consult a professional for guidance. Always use compatible bulbs for safety and functionality.
How Do I Fix My Dashboard Lights?
Check your car’s dashboard light fuse and replace it if blown. Ensure the dimmer switch is not turned down. If issues persist, consult a professional mechanic for a thorough electrical system inspection.
What Kind Of Bulbs Are In Instrument Cluster?
Most instrument clusters use small incandescent bulbs or LEDs for illumination. Check your vehicle’s manual for the specific type required.
Why Is My Instrument Cluster Not Lighting Up?
Your instrument cluster may not light up due to a blown fuse, faulty wiring, a dimmer switch issue, or a malfunctioning cluster. Check the fuse box first and replace any blown fuses. If the problem persists, professional diagnostic services may be necessary to pinpoint the exact cause.
Conclusion
Tackling the task of replacing instrument cluster lights is simpler than it seems. With the right tools and guidance, anyone can illuminate their dashboard effectively. Remember to stay patient and follow each step methodically for a seamless transition. Drive safely with a bright and functional display!


